The Gotrax scooter error code E3 indicates a problem with the motor. When this error occurs, the motor is unable to power the scooter properly. This prevents the rider from accelerating and reaches only very low speeds.
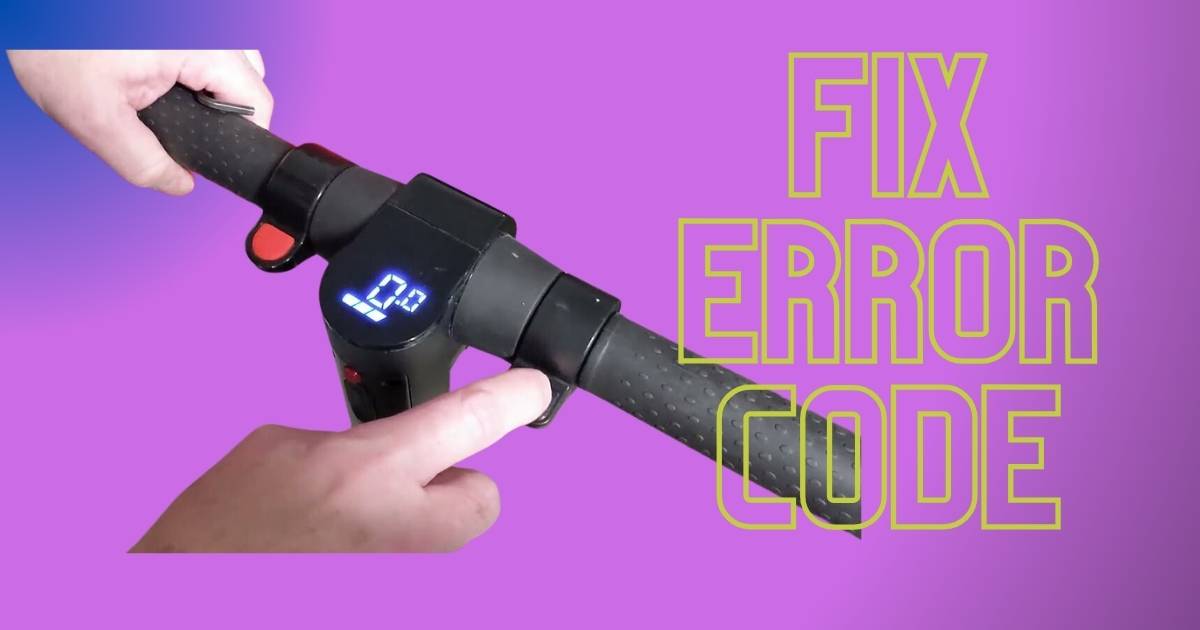
Have you experienced your Gotrax scooter suddenly slowing down or not moving at all? The dreaded error code E3 may be the culprit. Figuring out how to fix this issue will get you back on the road in no time.
The motor controller chip alerts riders of the E3 error by flashing the battery indicator lights in a specific pattern. This pattern signals that a possible loose wiring connection or damaged hall sensor is interfering with normal motor operation. Identifying and resolving the underlying issue allows riders to resume using their scooter without restriction.
What is Error Code E3 on a Gotrax scooter
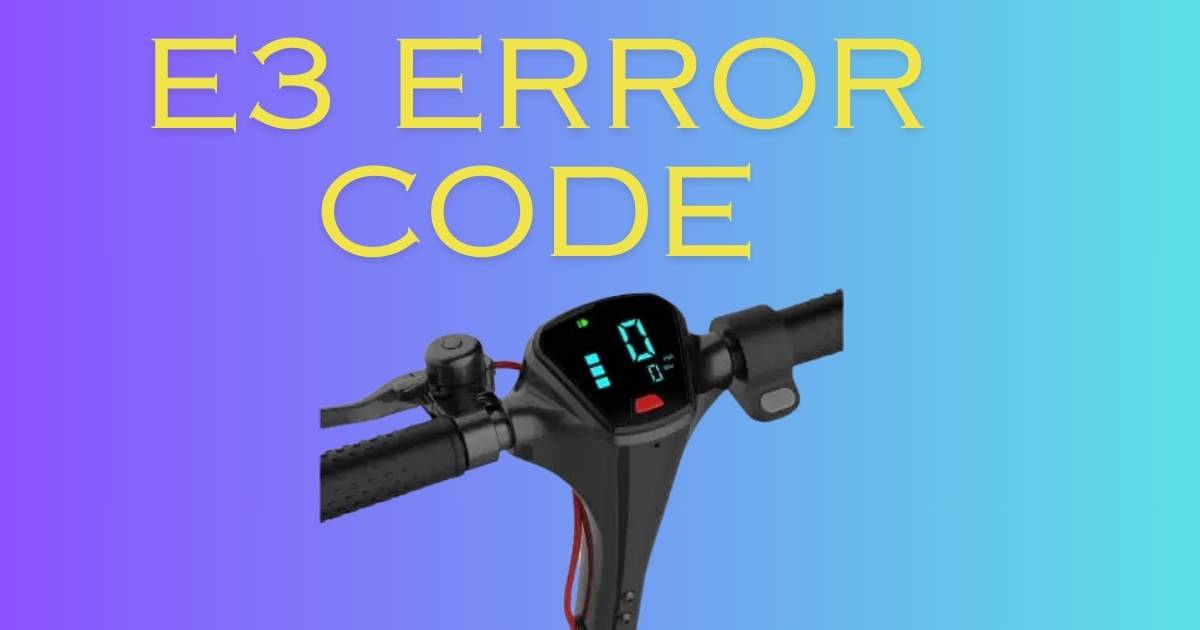
The error code E3 means there is a problem with the motor on a Gotrax scooter. When this code shows up, the scooter will not go very fast or may not move at all. The motor helps power the wheels so they can roll. Without the motor working properly, riding the scooter is difficult or not possible.
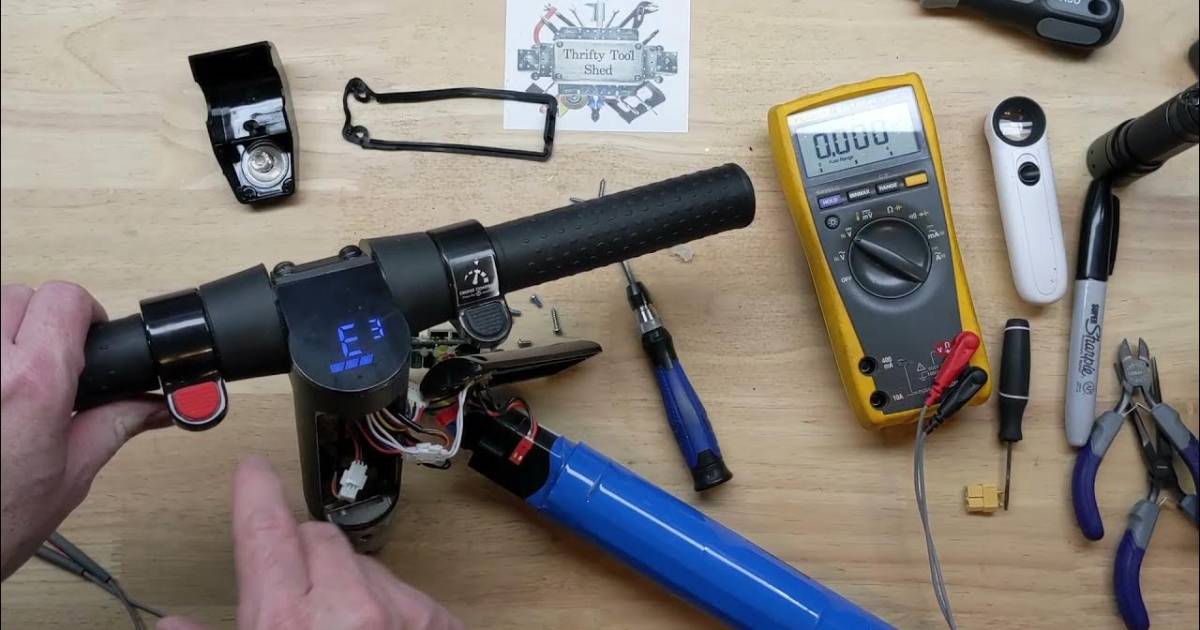
When E3 appears, the light on the Gotrax scooter’s battery will blink in a certain way. This blinking light pattern lets the rider know code E3 is there. The motor has a sensor called a hall sensor. It helps control how the motor works. If the wiring to the hall sensor is loose or broken, it can cause E3. Resetting Gotrax Scooter is necessary to troubleshoot and resolve the issue. The motor controller chip may also be damaged. Finding and fixing the problem with the wiring, sensor, or chip will make the error go away and allow normal riding again.
Common Causes for E3 Error Code
The E3 error code on a Gotrax scooter can arise due to several potential issues with components that control the motor. Some frequent causes of this error involve loose wiring connections or problems with the hall sensor.
| Common Causes | How to Fix |
| Loose wiring connections to the motor or hall sensor | Check all wiring connections to the motor and hall sensor and make sure they are secure and not loose. |
| Damaged hall sensor | Inspect the hall sensor for any cracks or damage. Replace if needed. |
| Faulty motor controller chip | The motor controller chip may need to be replaced if testing shows it is faulty. |
| Broken motor | Test the motor by inspecting for cracks or loose parts. Replace the motor if broken. |
| Worn brake pads | Inspect brake pads and replace if excessively worn down which could impact motor function. |
| Low battery charge | Fully charge the battery and see if the error resolves once at full charge. |
The main steps to resolve E3 are inspecting wiring, testing the hall sensor and motor controller, and replacing any damaged parts to allow the motor to function properly again.
Brake Lever Issues
The brake lever is used to slow down the scooter. If it is loose or broken, it will not work well. The wiring to the brake could be loose or damaged. Check that the lever is tight and the wires are secure. Make sure the brake pads are not worn out so they can stop the wheels.
Handlebar Issues
Problems with the handlebars can cause riding issues. See that all the bolts holding the bars are tight so they do not wiggle. Inspect for cracks or bends in the metal. Make sure all wires from the bars go to the right spots. Check the grips too – replace any torn rubber.
Controller Trouble
The controller talks to the motor and other parts. If water gets inside it could cause problems. Inspect it for cracks or loose wiring. Have someone test if it is working properly. It may need to be replaced if broken. Contact the company for help with this.
Connection Problems
Loose or dirty connections can stop things from working. Check the main wires joining the battery, motor and controller. Make sure they are tight and clean. Move connections away from rough spots to avoid cuts. Replace any worn or broken connectors. Clean corrosion from metal parts with a dry cloth.
The scooter uses many moving parts to function. Issues with levers, bars, wiring or controllers can all cause trouble. Inspect each area for damage, wear or loose fittings. Replace or tighten parts as needed. With some checking and minor repairs, most problems can be fixed. Always be careful when tinkering with electrical parts and connections.
Troubleshooting Steps for Gotrax E3 Error Code
Resolving the E3 error code involves systematically checking different components that could be causing issues with the motor. The first steps include inspecting basic parts like the brake lever, handlebars and throttle.
Troubleshooting Steps for Gotrax E3 Error Code
Brake Lever Issues
- Check that the brake lever is securely mounted and not loose
- Inspect the brake lever wiring for loose connections or damage
- Make sure the brake pads are not excessively worn down
Handlebar Issues
- Ensure all bolts securing the handlebars are tight
- Check for any cracks or bends in the handlebars
- Inspect handlebar wiring and connections
Throttle Confusion
- Make sure the throttle is securely attached and moves smoothly
- Check throttle wiring for loose connections or frays
- Test that the throttle is sending the correct signals
Controller Trouble
- Inspect controller for cracks, loose wires or water damage
- Have the controller functionality tested
- Replace controller if necessary
Connection or Console Glitches
- Check main wiring connections are tight and contacts are clean
- Reposition wires away from rough surfaces
- Replace worn or broken connectors
- Clean any corrosion from battery terminals
Resetting the Scooter
To reset the scooter, turn it off by holding down the power button for a few seconds. Then locate the small reset button, usually near the battery pack or controller. Press and hold this button until you hear a beep, then release it. This clears any error codes and resets the scooter’s systems. Turn it back on to see if the problem is now fixed. A reset may help if the E3 error was caused by a glitch rather than a hardware issue.
Seeking Professional Help
If checking all parts does not make the E3 go away, it may be best to ask a scooter shop for assistance. The mechanics there have special tools to fully test parts. They can quickly find small problems users cannot. Do not try to fix electrical issues unless trained. Leaving it to the experts keeps riders safe from shocks. Calling the scooter company is another option. They may know how to fix harder problems.
Preventive Measures for Future
Riders should always check wires and connections after long rides. Vibrations can loosen metal over time. Looking weekly avoids major issues. Keep scooter clean from rain and dirt too. Bad weather can hurt small electronics fast. Storing safely inside when not using protects parts.
Regular maintenance makes repairs less. Examine brake pads and tires monthly for wear. Charge battery to full every time. Avoid draining it too low which causes damage. Check bolts holding parts stay tight with each riding session. Taking good care now means smooth riding later.
FAQ’s
How do I fix my E3 error on my electric scooter?
The E3 error indicates a problem with the scooter’s motor. To resolve it, carefully inspect the motor wiring, hall sensor, and controller for issues like loose connections or damage.
How do I reset my GOTRAX scooter code?
To repairing your Gotrax electric scooter code, turn it off and hold down the power button. Then locate the small reset button and press it until you hear a beep to clear any error codes.
What does E3 mean on the AOVO scooter?
The E3 error code on an AOVO scooter refers to a problem with the motor. It indicates there may be issues with the motor wiring, sensors, or controller that need inspection and repair.
Is there a reset button on the electric scooter?
Many electric scooters have a small reset button, typically located near the battery or controller. Pressing and holding this button can clear error codes and reset the scooter’s systems.
How do I reset my scooter to factory settings?
To reset a scooter to factory settings, look for a recessed reset button or combination of button presses. Hold it until you hear a beep or the lights flash to restore all default configurations.
Conclusion
Resolving the E3 error code takes a step-by-step approach. Start by carefully checking simple things like how tight parts are. Move to testing wires and sensors if those look good. Have an expert help if it remains hard to fix. Being careful with electrical areas keeps users from harm. Whether someone fixes it or gets assistance, E3 should not stop enjoyment of the scooter for long.
Taking good care of the scooter through regular look-overs helps prevent issues. Cleaning off dirt right away protects small pieces. Storing inside when not riding also keeps scooter safer. Charging the battery fully each time and not letting it get too low adds to its life. With preventive steps like checking bolts frequently and minor maintenance, the scooter will run smoothly for longer riding fun. Understanding error codes makes any troubles that do come up easier to solve.

I’m passionate electric scooter enthusiast and the voice behind this blog. I’m here to share my expertise and insights with you. From in-depth reviews to problem-solving guides, my goal is to help you make the most of your electric scooter experience.


![Gomyfinance.com Invest: I Made $5,000 in My First Month [Real Results 2025]](https://electopolo.com/wp-content/uploads/2025/05/Gomyfinance.com-Invest-I-Made-5000-in-My-First-Month-Real-Results-2025-150x150.jpg)