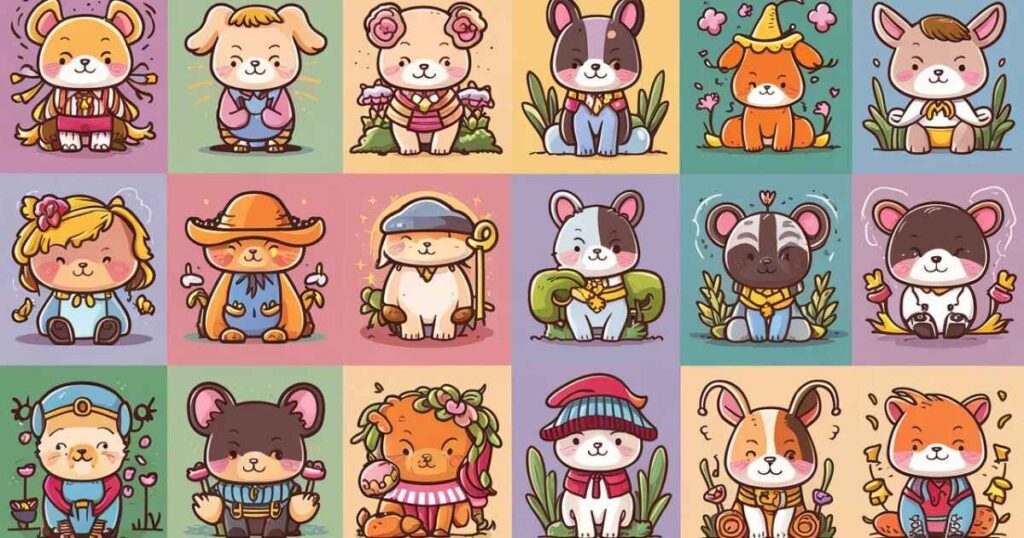
Drawing can seem like an elusive skill reserved for the naturally talented. However, the truth is that anyone can learn to draw by mastering the fundamentals – basic shapes. These humble shapes are the unsung heroes, the building blocks that pave the way for breathtaking illustrations and easy drawings you’ll be proud to share.
In this comprehensive guide, we’ll embark on a journey through 9 beginner-friendly steps to help you conquer fundamental shapes. By the end, you’ll have the confidence to transform simple circles, squares, and triangles into captivating works of art, one shape at a time.
Why Learning Basic Shapes is Crucial for Easy Drawings
Almost every drawing, no matter how complex, starts with basic shapes. These are the foundational elements that artists use to construct intricate scenes, characters, and objects. Mastering shapes is like learning the alphabet of drawing – once you know the letters, you can spell endless words and stories.
Furthermore, shapes are the building blocks for more complex illustrations. By breaking down an image into its core components, you can tackle it piece by piece, making the drawing process much more manageable and less intimidating.
Perhaps most importantly, mastering shapes builds confidence and sets you up for success. When you can draw a perfect circle or a proportional square with ease, you’ll feel empowered to take on greater drawing challenges, fueling your creativity and artistic growth.
The 9 Beginner-Friendly Steps

Step 1: Gather Your Materials
Before we dive into the world of shapes, let’s ensure you have the right tools for the job. Drawing doesn’t have to be an expensive endeavor, especially when you’re just starting. Here’s a list of essential supplies:
- Pencils (HB or 2B for general sketching)
- A good eraser (kneaded erasers are perfect for shading)
- A sketchbook or drawing paper
- A pencil sharpener or knife
- Optional: a ruler or straightedge
Remember, the quality of your materials isn’t nearly as important as your dedication and practice when you’re first learning to draw.
Step 2: Understanding Lines and Pressure
Before we tackle shapes, let’s explore the foundation of all drawings – lines. Lines come in various forms, from thin and sketchy to thick and bold. By understanding how to control the pressure you apply to your pencil, you’ll be able to create a wide range of line styles.
Take a sheet of paper and experiment with different pencil pressures. Press lightly for thin, delicate lines, and increase the pressure for thicker, more pronounced strokes. You can also try varying the pressure within a single line for an organic, sketchy effect.
Examples of Line Variations:
- Thin, light lines for outlines and details
- Thick, dark lines for bold contours and shadows
- Sketchy, varied lines for a more natural, hand-drawn look
Read This Post: Wallpaper: Goku – 4 Dragon Ball Z Inspirational Images to Energize Your Day
Step 3: Mastering the Circle
The circle is arguably the most fundamental shape in drawing. It’s the basis for countless objects, from fruits and bubbles to planets and wheels. Mastering the circle is the first step toward creating easy drawings with confidence.
Circle Drawing Techniques:
- Radius Lines: Start by drawing two perpendicular lines intersecting at the center point. Use these lines as guides to sketch four curved lines, forming a rough circle shape. Then, refine the curved lines until you have a smooth, even circle.
- Oval Variations: Circles aren’t just round – they can be elongated into oval shapes. Practice drawing ovals by visualizing them as flattened or stretched circles.
- Shading and Dimension: Once you can draw clean circles, experiment with shading techniques to give them depth and dimension. Use your pencil’s side for broad strokes and the tip for precise shading.
Practice Exercises:
- Draw a page filled with circles of varying sizes
- Create a still life composition of round objects (fruits, balls, etc.)
- Shade a series of circles to look like spheres
Step 4: Conquering the Square
The square is another essential shape for easy drawings, forming the basis for buildings, boxes, and countless other objects. While it may seem simple, mastering the square requires precision and an understanding of proportions.
Techniques for Drawing Squares:
- Perfect Squares: Begin by drawing two parallel horizontal lines, then add two vertical lines of equal length, creating four 90-degree angles.
- Rectangular Variations: Rectangles are simply elongated squares. Practice drawing rectangles by adjusting the length of the horizontal or vertical lines.
- 3D Boxes and Shading: Once you can draw flat squares and rectangles, experiment with creating the illusion of depth by adding shading and perspective lines to turn them into 3D boxes.
Step 5: The Powerful Triangle
Triangles may seem simple, but they are incredibly versatile shapes that can be used to construct a wide range of objects and characters. From pyramids and trees to noses and mountains, the triangle is a must-have in your drawing arsenal.
Different Triangle Types:
- Equilateral Triangle: All three sides are equal in length.
- Isosceles Triangle: Two sides are equal in length.
- Scalene Triangle: All three sides have different lengths.
Using Triangles for Characters and Objects:
- Human and animal noses, ears, and other facial features
- Roofs, pyramids, and other architectural elements
- Trees, mountains, and natural landscapes
- Abstract shapes and geometric designs
Step-by-Step Illustration:
Follow this step-by-step guide to draw a simple house using triangles:
- Draw a horizontal line for the base.
- From the center of the base, draw two lines meeting at a point to form a triangle (the roof).
- Add a vertical line on each side of the triangle to create the walls.
- Draw a square or rectangle beneath the base for the door.
- Add details like windows, chimneys, and landscaping using additional shapes.
Putting it All Together

Step 6: Combining Shapes into Objects
Now that you’ve mastered the basics of circles, squares, and triangles, it’s time to start combining them to create more complex objects and easy drawings.
Almost every object you see around you is made up of these fundamental shapes. A car, for instance, consists of circles for the wheels, rectangles for the body and windows, and triangles for the roof and other details.
Guided Practice:
Let’s try drawing a few simple objects together:
- A House: Start with a square for the base, add a triangle for the roof, and rectangles for the walls and windows.
- A Car: Begin with circles for the wheels, add a rectangle for the body, and use various shapes for the windshield, headlights, and other details.
- An Animal: Combine circles and ovals for the body, triangles for ears and noses, and rectangles or circles for legs and tails.
Remember, these are just starting points. Feel free to add your own creative touches and experiment with different shape combinations to make each drawing unique.
Step 7: Adding Details for More Realistic Drawings
Once you have the basic shape structure of your object or scene, it’s time to bring it to life with added details and shading techniques.
Using Overlapping and Surrounding Shapes:
To create more realistic and dimensional drawings, practice overlapping shapes and using additional shapes to surround and complement the main object. For example, adding rectangular windows and door shapes to a house, or using circles and ovals to create facial features on a character.
Shading, Textures, and Depth Techniques:
- Shading: Use varying pencil pressures and strokes to create shadows, highlights, and depth.
- Textures: Experiment with different shading patterns, like cross-hatching or stippling, to mimic textures like fur, bark, or fabric.
- Depth: Employ techniques like perspective, overlapping, and size variation to create a sense of depth and dimension in your drawings.
Step 8: Inject Life with Human/Animal Characters
One of the most rewarding aspects of drawing is the ability to breathe life into characters and tell stories through your illustrations. By combining the basic shapes you’ve learned, you can create expressive human and animal figures that capture emotion and personality.
Using Shapes for Figures and Portraits:
- Heads and Faces: Circles or ovals for the head shape, triangles for noses and ears, and various shapes for eyes, mouths, and other facial features.
- Bodies: Combine circles, rectangles, and triangles to form the torso, limbs, and overall body shape.
- Clothing and Accessories: Use rectangles, squares, and triangles to add clothing items, hats, shoes, and other accessories to your characters.
Expressive Posing and Facial Features:
- Posing: Experiment with different body positions and angles to convey various emotions and actions (e.g., a hunched posture for sadness, arms raised for excitement).
- Facial Expressions: Pay close attention to the placement and shape of the eyes, eyebrows, mouth, and other facial features to communicate feelings like happiness, anger, or surprise.
- Movement Lines: Use flowing, curved lines to suggest motion and dynamic poses for your characters.
Examples and Practice Exercises:
- Draw a series of faces showing different emotions (happy, sad, angry, surprised, etc.).
- Create a scene with human or animal characters in various poses and activities.
- Tell a simple story through a sequence of character drawings, like a comic strip.
Step 9: Keep Practicing and Experimenting!
Drawing is a skill that requires consistent practice and experimentation. Don’t be discouraged if your early attempts don’t look perfect – every artist starts somewhere, and the more you draw, the better you’ll become.
Here are some tips to keep you motivated and growing:
- Set Aside Regular Practice Time: Even just 15-30 minutes a day can make a significant difference in improving your drawing abilities.
- Experiment with Compositions and Subject Matter: Challenge yourself by drawing different objects, scenes, and themes to expand your skills and keep things interesting.
- Seek Inspiration: Look at drawings and artwork you admire, and try to analyze how the artist used basic shapes to construct their images.
- Share and Receive Feedback: Consider joining an online drawing community or showing your work to friends and family for constructive feedback and encouragement.
Remember, the journey to mastering drawing is a marathon, not a sprint. Celebrate your progress, no matter how small, and have fun with the process!
Conclusion
Congratulations! You’ve taken the first crucial steps toward becoming a skilled artist by mastering the fundamentals of basic shapes. From humble circles and squares to the versatile triangle, these building blocks have laid the foundation for easy drawings that will impress and delight.
But this is just the beginning. As you continue practicing and combining shapes, you’ll unlock endless creative possibilities. Imagine turning those simple shapes into breathtaking landscapes, intricate portraits, or whimsical character designs – the sky’s the limit!
So, grab your pencil, keep these shape-mastering techniques in mind, and embark on your drawing journey with confidence. Remember to have fun, experiment, and embrace the process. Before you know it, you’ll be creating beautiful, easy drawings that will leave others in awe of your newfound talent.

I’m passionate electric scooter enthusiast and the voice behind this blog. I’m here to share my expertise and insights with you. From in-depth reviews to problem-solving guides, my goal is to help you make the most of your electric scooter experience.


![Gomyfinance.com Invest: I Made $5,000 in My First Month [Real Results 2025]](https://electopolo.com/wp-content/uploads/2025/05/Gomyfinance.com-Invest-I-Made-5000-in-My-First-Month-Real-Results-2025-150x150.jpg)


